Fright Train Complete Walkthrough
Every story run, boss fight, and section escape on the L.R.S. Great White.
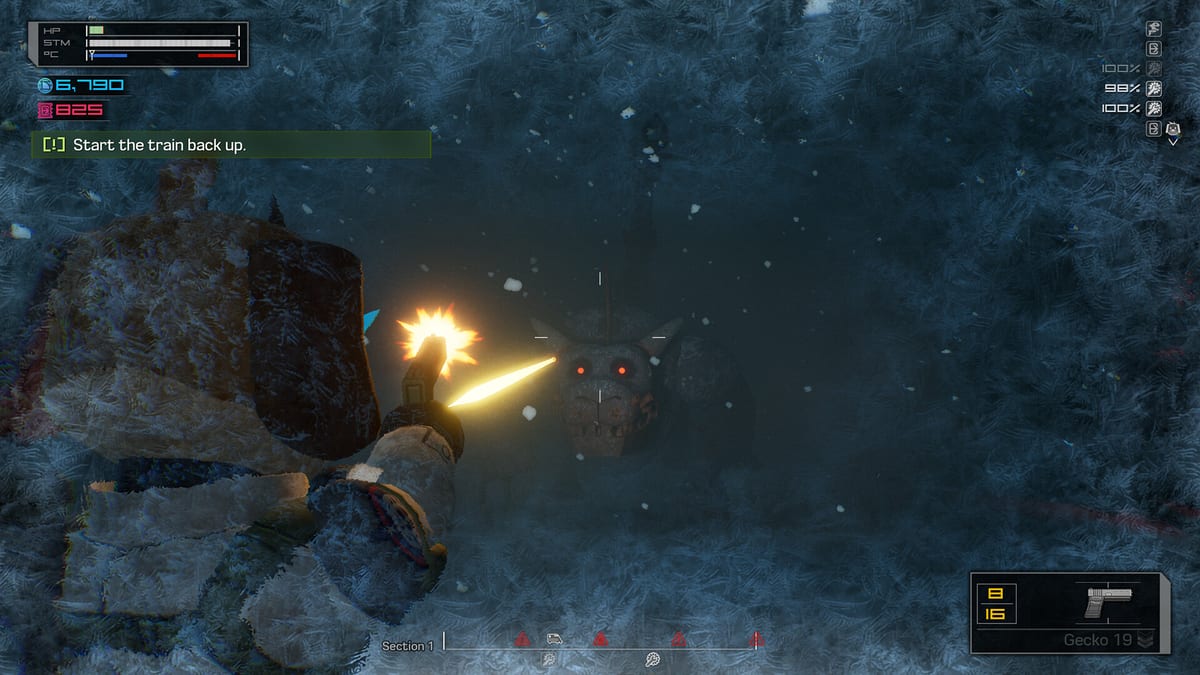
Fright Train’s story takes five full runs after its opening disaster. Cars rearrange each time, so this walkthrough cannot tell you to take the second door on the left. What stays fixed is the rhythm: cross three sections, survive each storm, find the painted locker code, make the section escape, and complete that run’s story objective near the front of the train.
This guide covers the full release from the power tutorial through the ending. It assumes you have read Getting Started and understand the core loop. If you have not yet bound controls, visit Controls before entering the first car.
Story runs at a glance
| Run | Story goal | What ends the run |
|---|---|---|
| Opening | Restore power and learn the Great White’s systems | The first paranormal reconfiguration |
| 1 | Follow two heat signatures and find Joseph | Joseph sends you to look for Alice |
| 2 | Reach Alice near the locomotive, destroy the greenhouse eye | Speak to Alice |
| 3 | Recover the Accumulator log printouts | Win the laboratory fight and take the logs |
| 4 | Reach Reef’s server room | Defeat the close-range brute and reconnect with Alice |
| Final | Reach the locomotive and use the power override | Defeat the entity at the front of the train |
Opening — power tutorial
Follow objective markers through the dark cars and restore power. Use the first heat pad when cold begins draining you — a heat pad is not a permanent buff. It buys time with a destination in mind.
The inventory tutorial matters more than it looks. Items fit compatible body slots, and placement affects fetch speed. Keep the item you expect during a fight in an easy slot; put spare ammunition or a second heal in slower storage.
After the sabotage, use the train terminal to bring the Great White back online. Riley is attacked, the situation collapses, and the train’s first major reconfiguration pushes the story into its run-based structure.
Run 1 — follow the heat signatures to Joseph
Treat the two heat signatures as broad destination markers, not instructions to clear every room. Build a basic loadout in the first section: one dependable firearm, at least one ready replacement magazine, a healing item, and enough warmth to cross a bad stretch.
When a section storm starts, defend the train rather than advancing blindly. Finish the threat wave, stabilize the damaged car, and reload before continuing. At each break, check the painted code cabinet first and Bite-Back second.
Near the end, security announcements and the worm escape lead into the run’s story scene. Reach the marked boundary before the countdown expires. Doug finds Joseph, who points him toward Alice.
Run 2 — find Alice and destroy the greenhouse eye
The second run repeats the three-section crossing but ends with the first major arena fight. Start conserving for it in section two. Carry a full primary weapon, a functional backup, and at least one heal.
At the greenhouse, a huge eye-like growth moves between plant-filled bays. Its red iris is the target. When the eye opens, stop shooting the outer growth and put controlled fire into the exposed center. When it closes behind the green shell, reload, reposition, and clear the smaller enemies that entered the arena.
Keep rotating around the room instead of backing into one corner. The fight becomes difficult when adds remain alive through the next open-eye phase.
After enough open-eye damage, the growth collapses and you reach Alice. Her explanation connects the disaster to SHARK’s Deep Dive project, the entity called Kthon, and the train’s Accumulator.
Run 3 — recover the Accumulator logs
This run is where resource discipline begins to matter more than novelty. Resist swapping to every new gun you find. A familiar upgraded weapon with known ammunition supply is better than a higher-looking tier with two shots.
Continue searching each section for its painted code. Complete the ordinary section sequence, survive the final approach, and follow the objective into the laboratory.
The laboratory enemy is bulky and accompanied by other threats, including blue spectral figures. Do not stay planted in the center. Circle the room, keep a bench or column between you and the largest attacker.
Once the room is safe, take the Accumulator log printouts. The story now has the information Alice needs: Doug must reach Reef’s servers so she can reconnect and reroute the program.
Run 4 — reach Reef’s server room
The server run finishes in a tighter combat space. Keep a close-range emergency weapon only if it is already loaded; otherwise, favor the gun you can fire accurately while moving.
The large brute at the server room wins by keeping Doug at arm’s length and chaining pressure. Do not trade hits. Use the room’s pipes, corners, and solid geometry to make it turn, then shoot exposed red-orange points when you have a straight lane.
Reload behind cover, not while watching the boss approach. If you must open the inventory, first put a full obstacle between you and the enemy.
Reaching the server restores contact with Alice and reveals the final plan. She needs Doug to reroute power through the Accumulator and overload it.
Final run — pull the power override and finish the front-of-train fight
Treat the final run as an ammunition budget. Do not spend premium rounds finishing a weak enemy that can be bypassed, and do not arrive at the locomotive with every heal buried in the bag.
At the front of the train, follow the marker to the large override lever. The sequence opens into a multi-part fight around the locomotive machinery. The eye-like growth returns as a target, and the front assembly becomes the larger threat.
Stay in motion between the metal barriers, use them to interrupt incoming attacks, and shoot only when an eye or another obvious vulnerable point is exposed.
The arena encourages continuous fire. That is the trap. Watch Doug’s position instead. Keep a clear route to the next barrier, reload during a safe transition, and clear immediate hazards before committing to another damage window.
Defeating the final form triggers the ending sequence. Doug and Alice complete the overload, the immediate threat is stopped, and the story closes.
Storm survival discipline
Use maintenance terminals before a damaged car reaches zero condition. Antifreeze canisters add protection during storms. When the warning arrives, first check which car is in danger. If your current car is already badly damaged, move toward its terminal instead of chasing the first enemy you hear.
Do not spend the entire storm sprinting after individual monsters. Let enemies enter a doorway or narrow aisle, hit weak points, and retreat before you are surrounded.
Bite-Back Machine and upgrade cabinet
Every section ends with a weapon upgrade opportunity and a cabinet offering three random run upgrades. Bite-Back can raise a weapon through four tiers, with the final tier adding a powerful ability.
The cabinet offers three random upgrades and allows one purchase per section. Prefer the option that fixes the run you have. Low on ammunition? Take an economy or damage option. Struggling with cold or movement? A defensive or mobility benefit may save more health than raw damage.
What changes between runs, and what never does
Room order, loot, door opportunities, painted codes, and upgrade choices can change. The three-section structure, end-of-section preparation, story objective order, and major boss encounters do not.
If your run looks different from this route, keep moving toward the current objective and apply the section rules: search walls while traveling forward, repair the train before shopping when a car is in danger, leave when the worm warning starts, and prepare at the Bite-Back area.
Related pages
- Getting Started — core loop before you begin
- Combat and Storms — wave survival
- Keep the Train Running — maintenance during runs
- Weapons — loadout planning
- Items — consumable priorities
- Enemies — boss weak points and enemy behaviors
Frequently Asked Questions
Quick answers for Antarctic agents.
How many runs does Fright Train's story have?
Six total: an opening run, five numbered story runs (each with three sections), and a final run that ends the game.
What is the giant worm that appears at section ends?
A persistent threat behind the train. Once its escape warning appears, stop exploring and move toward the section boundary before the countdown expires.
Where do I find the painted locker codes?
The digits appear somewhere in the current section — scan walls whenever you enter a distinct room. The code changes each run.
Should I upgrade weapons at every Bite-Back Machine?
Upgrade the weapon you can actually maintain ammunition for. One well-supported weapon with tier 4 is more valuable than a bag full of weak guns.